SETTING DEFAULT PRINTER SETTINGS (WINDOWS)
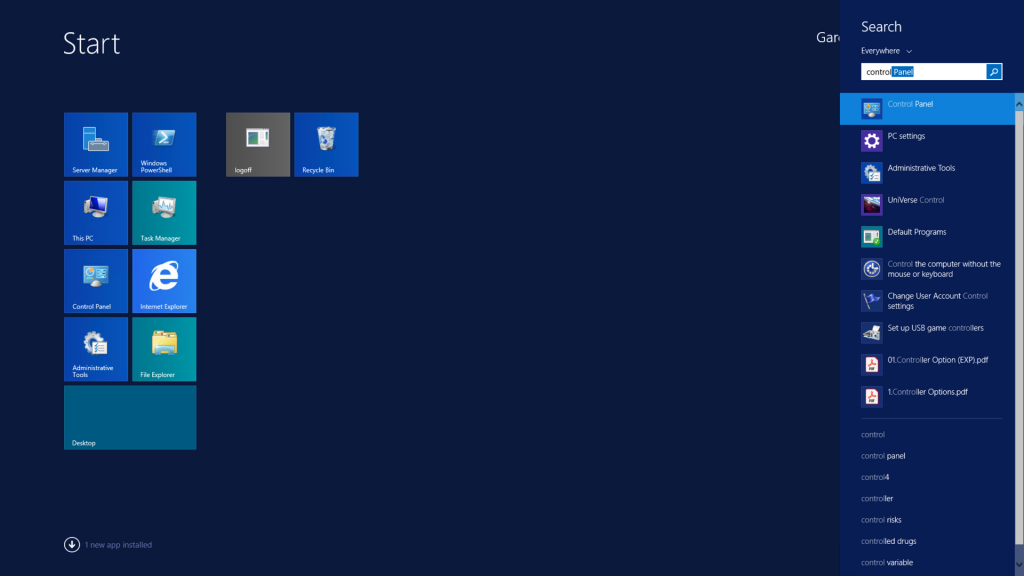
Click on the Windows icon (usually bottom left corner), then without clicking anywhere else, type in “control”, the search bar will automatically show multiple results, Click on “Control Panel” from the list.
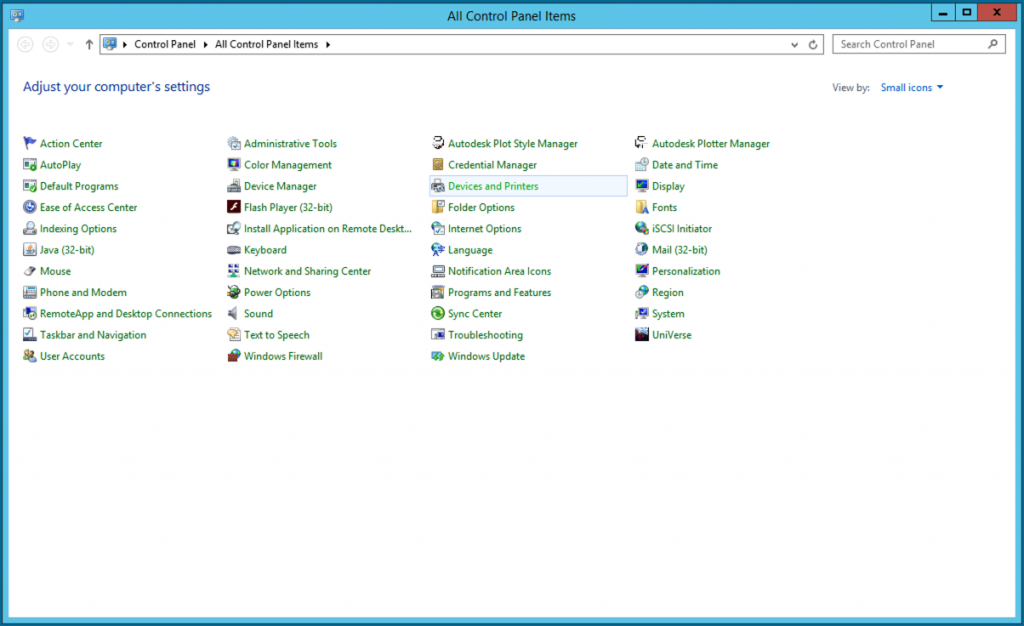
Click on “Devices and Printers” to open the devices and printers menu. If your screen does not look like the below, you can change its view with the top right drop down box from View By ‘Catagory’ to View By ‘Small Icons’

Right click on the Ricoh printer you want to change the default properties for and choose [Printer properties] from the list.

The Printer Properties will open in the ‘General’ tab, if you choose the [Preferences] button at the bottom of this screen, you can change the properties for the printer on this computer only. If you choose the [Advanced] tab from along the top you can change the settings for both this computer and any computers that access the printer from other computers as a shared printer. See our Sharing a Printer tutorial for more information on sharing a printer.
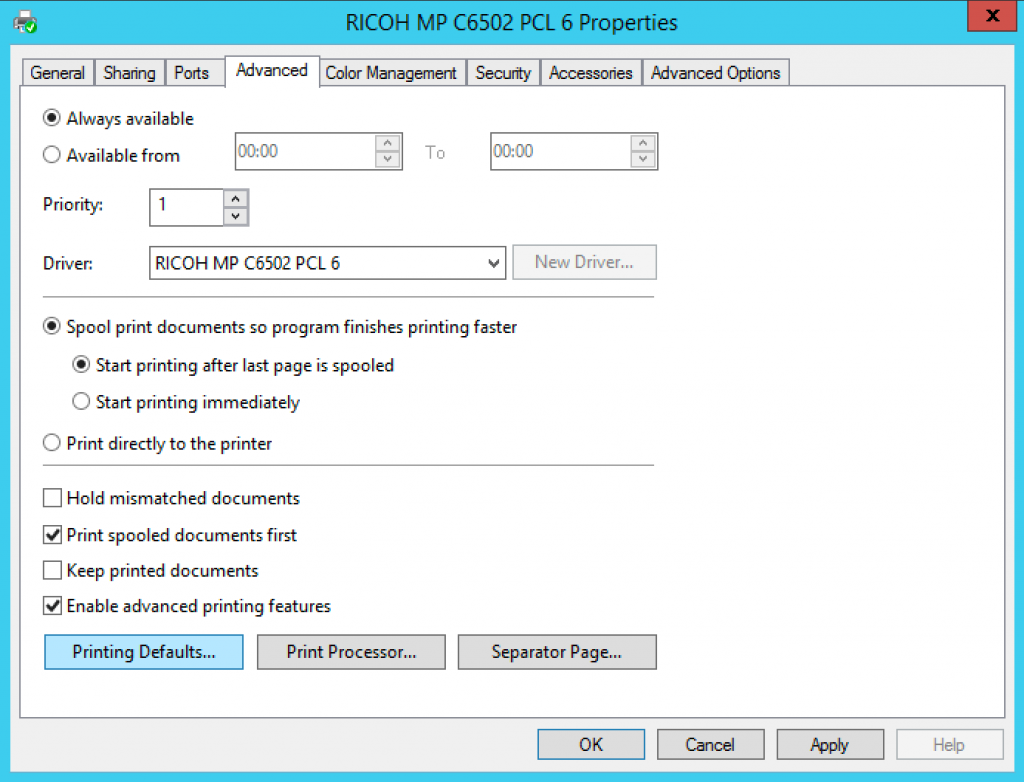
Within the Advanced tab, select [Printing Defaults…] at the bottom left
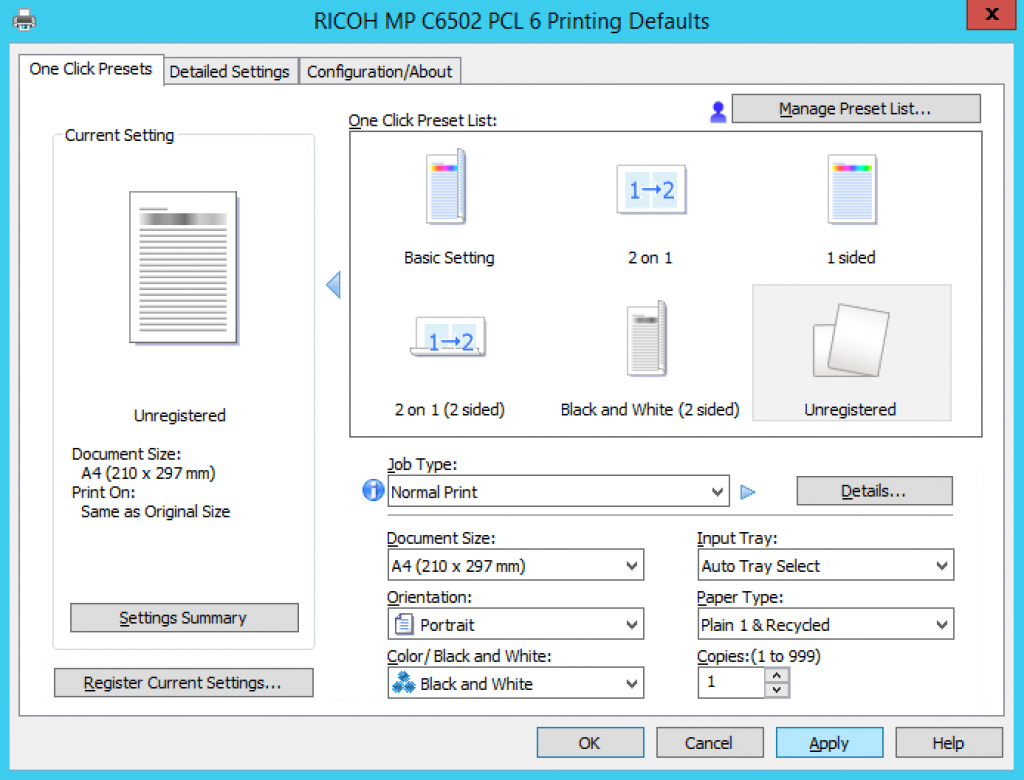
Within the Printing Defaults… option you can choose what default settings you want your printer to have. In this example, we have set the printer to print single-sided in black and white. Once you have made your selection of settings, click the [Apply] button to apply the settings and then click on the [OK] button to take you back to the ‘Advanced’ tab of the ‘Printer Properties’ screen

STEP 7 – Apply the settings
From back with the ‘Advanced’ tab of the ‘Printer Properties’ screen, click the [Apply] button to apply the settings and then click on the [OK] button to exit. Close the ‘Devices and Printers’ window to complete the process.